Assembling the Raspberry Pi 4 Protective Case

The Raspberry Pi 4 Protective Case is made up of five 3mm acrylic layers and four screws/nuts. Each layer has an engraved number in the top left corner which can be used to identify the layers and make sure the case is assembled correctly.

Start placing layer 1 on a flat surface with the number in the top left corner facing up. Then stack layer 2 on top in the same orientation (number in the top left corner).

Then add layer 3 and place your Raspberry Pi inside the central gap ensuring that the SD card is over the cutout on the lefthand side. The Pi should fit inside layer 3 with the metal part of the USB/HDMI ports resting on indents as shown below.

Now add layer 4 which should fit around the surface mounted componets. Take care when placing the layer to avoid damaging the components on the board.

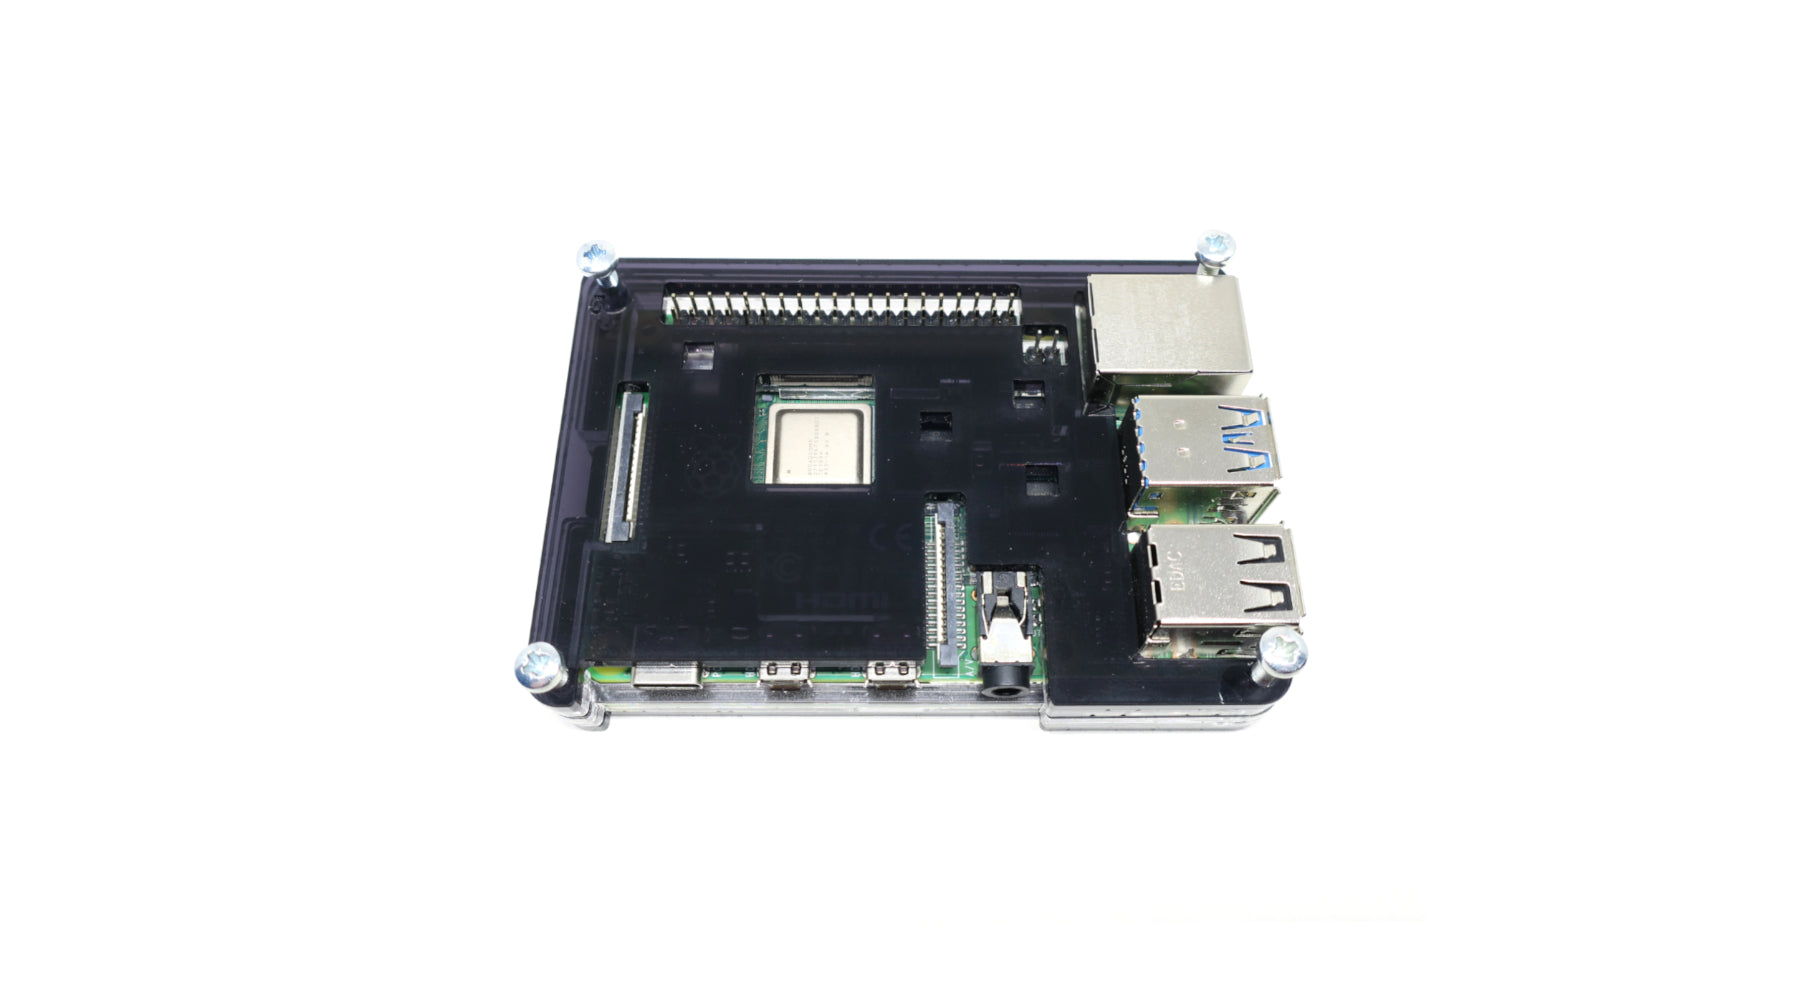
Add the final layer (5) to the top of the stack and add the screws to each of the corners. If the screws meet some resistance it may be due to the layers not being fully lined up, with some adjustment they should slot in. Don't use excesive force as this may damage the acrylic.

Now carefully flip the case over making sure the screws don't fall out and then add the securing nuts. The nuts don't need to be too tight, we'd recommend tightening them using your fingers until you feel some resistance.

Now you have assembled your case and are ready to use your Raspberry Pi.